How to Plant Flowers: A Step-by-Step Guide
Get nursery pots and cell packs into the ground the right way: what to do before planting, seven clear steps from hole to first watering, and how to care for transplants while they root in.
At a glance
What you need
- Hand trowel
- Watering can or hose with a gentle nozzle
- Transplants in pots or cell packs
- Mulch
- Garden gloves
- Clean knife for root-bound plants
You have a tray of nursery pots or cell packs and a bed waiting for them. Learning how to plant flowers properly adds only a minute or two per plant, and it has a lot to do with how quickly those transplants root in and start growing.
This guide covers transplants, the young plants sold in pots and cell packs. It assumes the bed is ready. If it is not, begin with preparing the soil for a flower bed and come back when the ground is loose and settled.
Before you plant
Check the timing
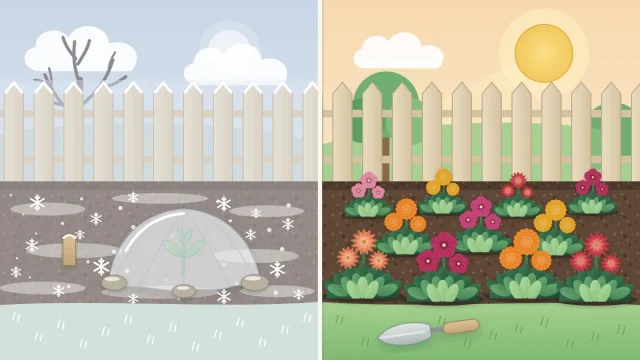
The right moment depends on your climate and on the plant. Frost-tender annuals go out after your last spring frost, once the soil has warmed. Hardy annuals and many perennials tolerate cooler conditions. In mild-winter and hot-summer climates, the cool season is often the better planting time. The guide on when to plant flowers explains how to work it out for your area.
Harden off sheltered plants
Plants raised indoors or in a greenhouse have soft growth that is not used to sun, wind and cool nights. Over a week or so, set them outside in a sheltered, shaded spot for a few hours, then give them a little more time and a little more sun each day. Bring them in if frost threatens. Plants that have been displayed outdoors at the nursery need less of this. For more detail on hardening off and planting, see University of Maryland Extension.
Water the pots
Water every pot thoroughly an hour or more before planting. A moist root ball slides out in one piece and takes up water from the surrounding soil. A dry one sheds water and can stay dry even in a wet bed.
Pick your moment and lay out the plants
A mild, overcast day is ideal. Otherwise plant in the late afternoon, so the plants have a cool night before they face full sun.
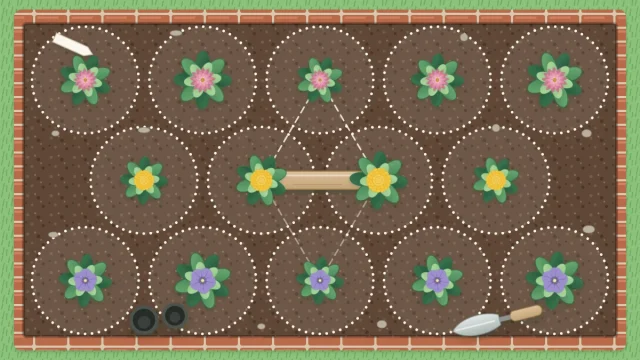
Set the pots out on the bed at the spacing shown on their tags, measured from the center of one plant to the center of the next. Step back, adjust, and only then start digging. If the tag spacing puzzles you, see the guide to flower spacing.
Planting step by step
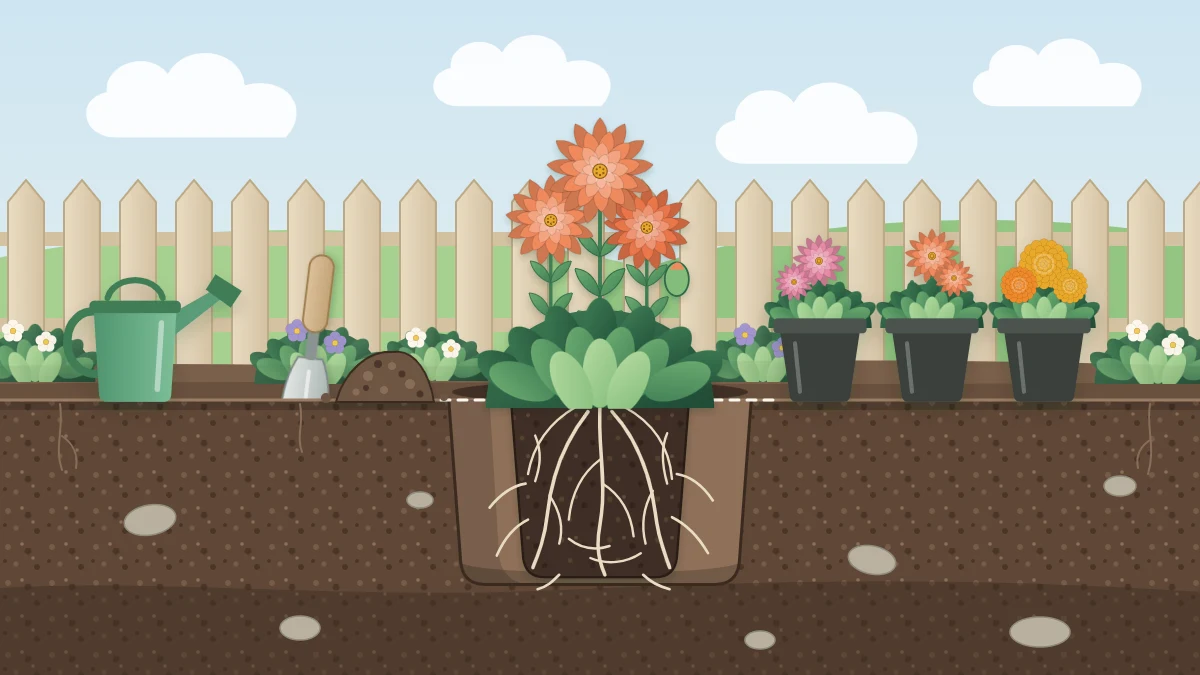
- Dig the hole. Make it as deep as the root ball and about twice as wide. The loose soil at the sides gives new roots an easy start. Do not dig deeper than the root ball, or the plant will sink as the soil settles.
- Ease the plant out. Tip the pot, support the top of the root ball with your fingers on either side of the stem, and tap or squeeze the pot until the plant slides free. Push cell-pack plants up from below. Never pull a plant by its stem.
- Loosen circling roots. If roots wrap around the outside of the root ball, tease them apart with your fingers so they point outward. Roots left in a tight spiral often keep circling instead of growing into the bed.
- Set the crown level. Place the plant so that the crown, where stems meet roots, sits level with the surrounding soil. Lay the trowel handle across the hole to check. The crown should not be buried and the root ball should not stick up.
- Backfill. Push the soil you removed back around the root ball, breaking up clods as you go.
- Firm gently. Press the soil down with your hands so that the roots are in contact with it and the plant stands upright.
- Water thoroughly. Water slowly at the base of each plant until the soil is soaked to the depth of the roots. This settles soil into the gaps. If the soil sinks and exposes roots, add a little more.
Good to know
Level with the soil surface is the rule for most bedding plants and perennials, but a few plants have their own depth requirements. Read the tag, and follow it where it differs from this guide.
Root-bound plants and cell packs
Plants that have waited too long in their pots can have a dense mat of roots with little soil visible. Fingers may not be enough. Make three or four shallow cuts down the sides of the root ball with a clean knife, or pull the bottom apart gently, then spread the roots as you plant. It looks rough, but it prompts new roots to grow outward.
Cell-pack plants are small and dry out fast. Keep the tray in shade while you work and remove only one plant at a time.
Aftercare for the first weeks
New transplants rely on the small root ball they arrived with until roots grow into the bed. For the first few weeks, keep the root zone evenly moist: not soggy, and never fully dry. Check by pushing a finger into the soil beside the root ball, 2 to 3 in (5 to 8 cm) down, and water when it feels dry there. How often that turns out to be depends on your soil, the weather and the size of the plants. The guide on how to water a flower garden covers the method in detail.
Spread mulch 2 to 3 in deep over the bare soil between plants to slow drying and limit weeds. Keep it pulled back a little from stems and crowns, so they stay dry and air can reach them.
Leggy annuals often branch better if you pinch off the growing tip, or remove the first flowers, at planting time. This is optional. It delays the first color slightly and usually gives a bushier plant.
Common planting errors
- Planting too deep. Soil or mulch piled over the crown holds moisture against the stems and often leads to rot.
- Planting too high. A root ball that sticks above the surface dries out quickly.
- Planting dry root balls. Water the pots first; watering afterward may not wet a dry core.
- Leaving air pockets. Gaps around the roots dry them out. Firming and a thorough watering close them.
How to tell plants are settling in
Some drooping in the first days is common, especially on warm afternoons. It is often the plant adjusting, not a signal that it needs more water. Check the soil before you reach for the hose, because soggy soil causes wilting too.
The sign to look for is new growth: fresh leaves at the tips and a plant that resists a very gentle tug. From then on you can let the surface dry a little more between waterings, which encourages roots to reach deeper into the bed.
Frequently asked questions
How deep should I plant flowers from pots?
For most bedding plants and perennials, set the plant so the top of the root ball and the crown sit level with the surrounding soil. Dig the hole only as deep as the root ball, and wider. A few plants have different requirements, so follow the tag where it says otherwise.
Should I loosen the roots before planting?
Yes, if they circle the outside of the root ball. Gently tease them outward with your fingers. For a dense, matted root ball, make a few shallow cuts down the sides. If the roots are loose and soil is still visible, leave the root ball intact and plant it as it is.
Why are my newly planted flowers wilting?
Some wilting in the first days is common while roots adjust, especially on warm afternoons. Dry soil is one possibility and waterlogged soil is another, so feel the soil beside the root ball before watering. Temporary shade for a few days often helps plants through hot or windy weather.