Flower Garden Design for Beginners: Planning Your First Bed
A simple way to plan a first flower bed: read the site, pick a shape you can reach into, repeat a few plants in drifts, contrast shapes and sketch it to scale before you buy.
Plenty of gardeners can keep plants alive and still feel their bed looks like a random collection. The plants are fine; what is missing is a plan. Flower garden design sounds like a specialist skill, but for a first bed it comes down to a handful of simple habits.
None of them needs artistic talent. They are ways of limiting your choices so that the plants you do pick look as though they belong together.
Start with the site, not the plants
Before thinking about flowers, look at the place where the bed will go. Four things shape every later decision:
- Light. Count the hours of direct sun the spot gets in the growing season. The guide to assessing sunlight in your garden explains how.
- Soil. Notice whether it drains quickly, stays wet or sits somewhere in between.
- Viewpoint. Decide where you will mostly see the bed from: a window, a patio, the street.
- Water. A bed within reach of a hose is far more likely to be looked after in dry weather.
A design that ignores these will struggle however good it looks on paper.
Choose a shape you can reach into
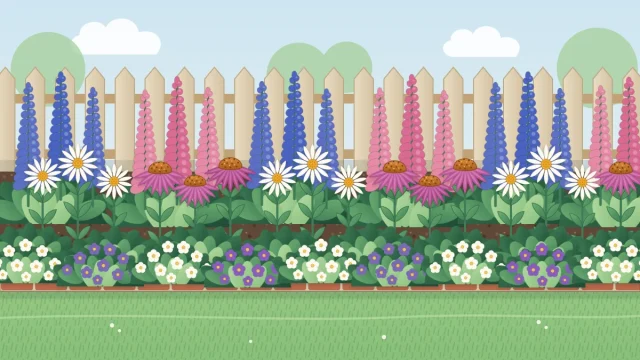
Beds fall into two broad types. A bed against a fence, wall or hedge is seen from one side, so tall plants go at the back and short ones in front. An island bed sits in open ground and is seen from all around, so the tallest plants go in the middle.
Most people can comfortably reach about 2 to 3 ft (60 to 90 cm) into a bed. Keep that in mind when you set the depth, or plan stepping stones or a narrow path behind the planting so you can weed and deadhead without treading on the soil.
Simple outlines work best. A gentle curve or a clean rectangle is easier to mow around and edge than a wavy line with many small bends.
Get the size and proportion right
A very narrow strip leaves room for a single row of plants, which tends to look thin. A bed about 4 to 6 ft (1.2 to 1.8 m) deep allows two or three layers of height and is where planting starts to look generous. How to arrange those layers is covered in the guide to planning a flower border.
Scale matters too. A small bed can look lost beside a large house or a long fence, while an oversized one can swamp a tiny yard. If in doubt, lay a hose or a length of rope on the ground in the shape you have in mind and look at it from your main viewpoint for a few days.
Six simple design tools
Repeat a few plants
One of everything is the most common reason a bed looks jumbled. Choose a short list and repeat those plants along the bed. Repetition gives the eye a rhythm to follow.
Plant in groups and drifts
Set smaller plants in groups of three, five or more instead of singly. A drift is a group of the same plant in a loose, elongated shape that weaves between its neighbors, which looks more natural than a tight block. Large plants can stand alone.
Limit the color palette
Two or three main colors and one accent are easier to manage than the whole rainbow. For how to choose them, see the guide to flower garden color schemes.
Contrast shapes and textures
Mix flower forms: upright spires, flat daisies, rounded mounds and airy fillers with many tiny blooms. Do the same with leaves, setting broad foliage beside fine or grassy foliage. Leaves are on show far longer than flowers, so texture carries the bed between flushes of bloom.
Add a focal point
Give the eye somewhere to rest: one bold plant, a large pot, a birdbath or a small shrub. One focal point per view is enough.
Plan interest for each season
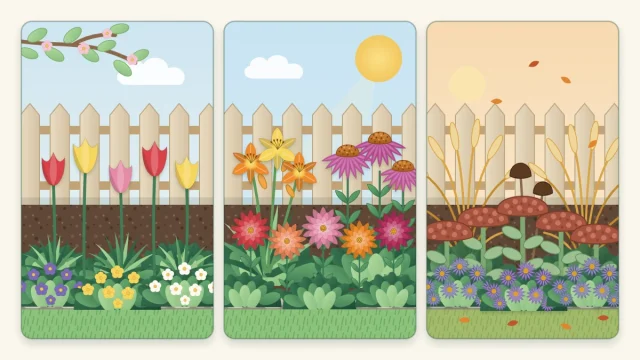
Aim for something to look at through the whole growing season, plus seed heads, grasses or evergreen shapes for winter. Bloom times shift with climate, so build this around local observation; the guide to planning for continuous bloom goes into detail.
Sketch the bed on paper
A scale drawing shows quickly whether your wish list fits.
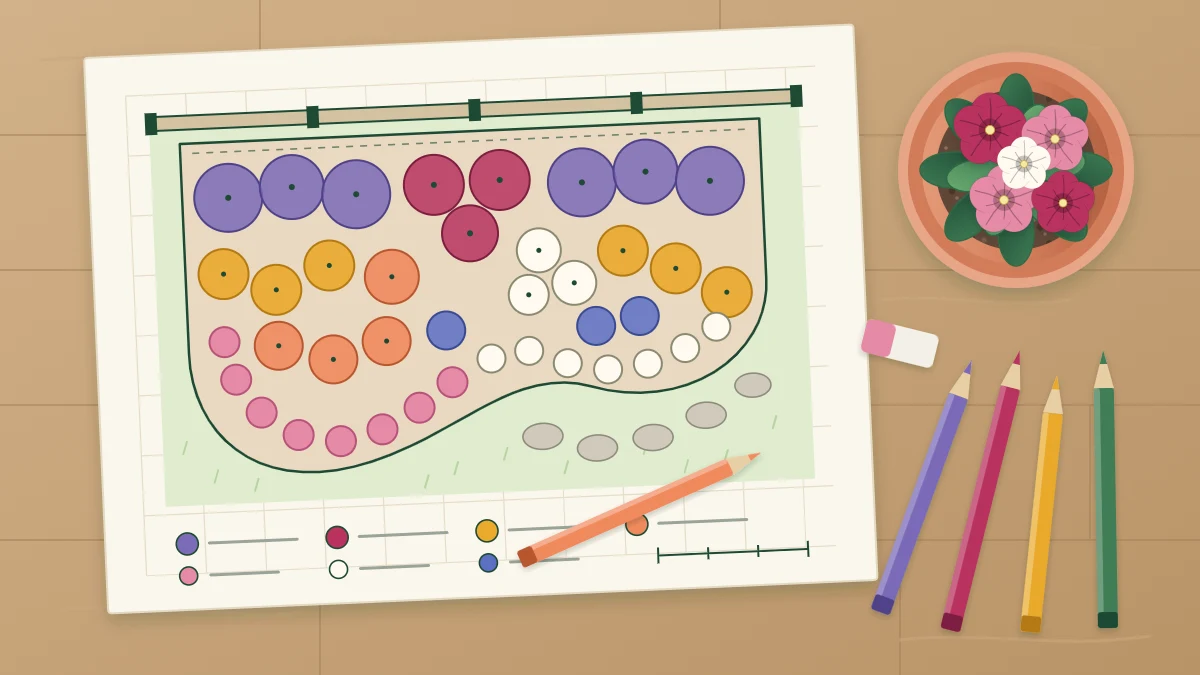
- Measure the bed and draw its outline on graph paper, letting one square stand for a fixed distance such as 1 ft (30 cm).
- Mark fixed features: fence, path, tree, tap.
- Look up the mature spread of each plant on its tag and draw a circle of that width for every plant.
- Place the tallest plants first, then the middle layer, then the edge.
- Group the circles into clusters and drifts, and repeat each cluster at least once elsewhere in the bed.
- Color the circles roughly to check how the palette reads.
Tip
Draw circles at mature size, not the size of the pot you bring home. Mature spread varies by variety and climate, so treat the tag as a guide, but it prevents the classic mistake of planting twice as many as the bed can hold.
Choose plants that share the same needs
Good looks follow from good matching. Every plant in a bed should want roughly the same light and the same amount of water, because you cannot keep one neighbor dry and the next one moist.
They also have to suit your climate. Check that perennials are rated for your hardiness zone, and note which annuals are frost tender or prefer cool weather.
Good to know
A planting plan copied from another region will not necessarily work in yours. Plants that flower together in one climate can bloom weeks apart in another, and some will not survive your winters or summers at all. Use published plans for their structure and swap in plants that grow well locally.
Leave room to work, then edit
In beds too deep to reach across, include a few stepping stones or a mulched path, hidden by foliage in summer. Keep a clear edge between bed and lawn; it makes the whole planting look intentional.
Finally, start smaller than you think you need. A modest bed that is planted well and kept weeded looks better than a large one that gets away from you. Expect to move plants, remove a few and add others over the first few years. Every experienced gardener edits; a design is something you adjust as the plants show you how they grow in your conditions.
Frequently asked questions
How big should my first flower bed be?
Small enough to keep weeded and watered without it becoming a chore. A bed a few feet deep and several feet long gives room for two or three layers of plants. You can always extend it later, which is easier than rescuing a large bed that has become overgrown.
How many different plants should I use in one bed?
Fewer than you expect. For a small bed, five to seven kinds repeated in groups usually looks fuller and calmer than twenty single plants. Choose a mix of heights and flower shapes that share the same light and water needs, then repeat each group at least once.
Do I need to draw a plan before planting?
It is not essential, but a rough scale sketch saves money and replanting. Drawing each plant as a circle at its mature spread shows how many plants fit, where the gaps are and whether tall plants will hide short ones, all before you have bought anything.